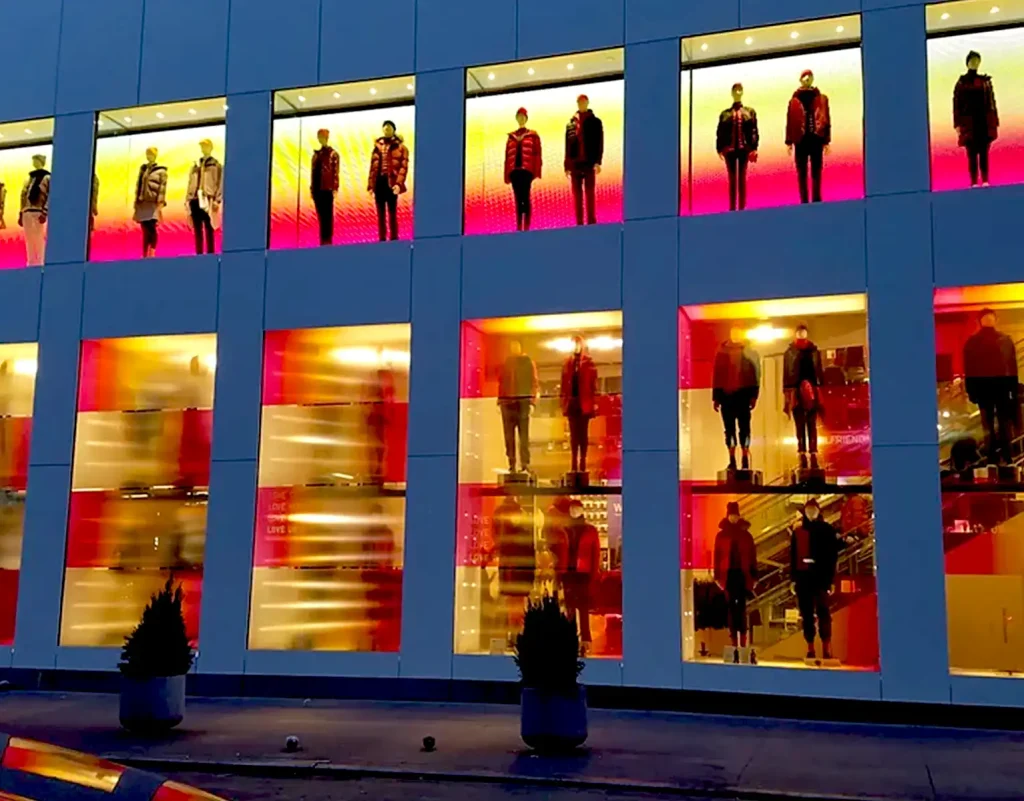
Retail Environmental Graphics
Retail Graphics Rollout Checklist for Multi-Location Campaigns
A multi-location retail graphics rollout works best when every store, artwork version, quantity, packing instruction, and installation requirement is connected through one controlled production system. Build one source of truth before production. A multi-location…
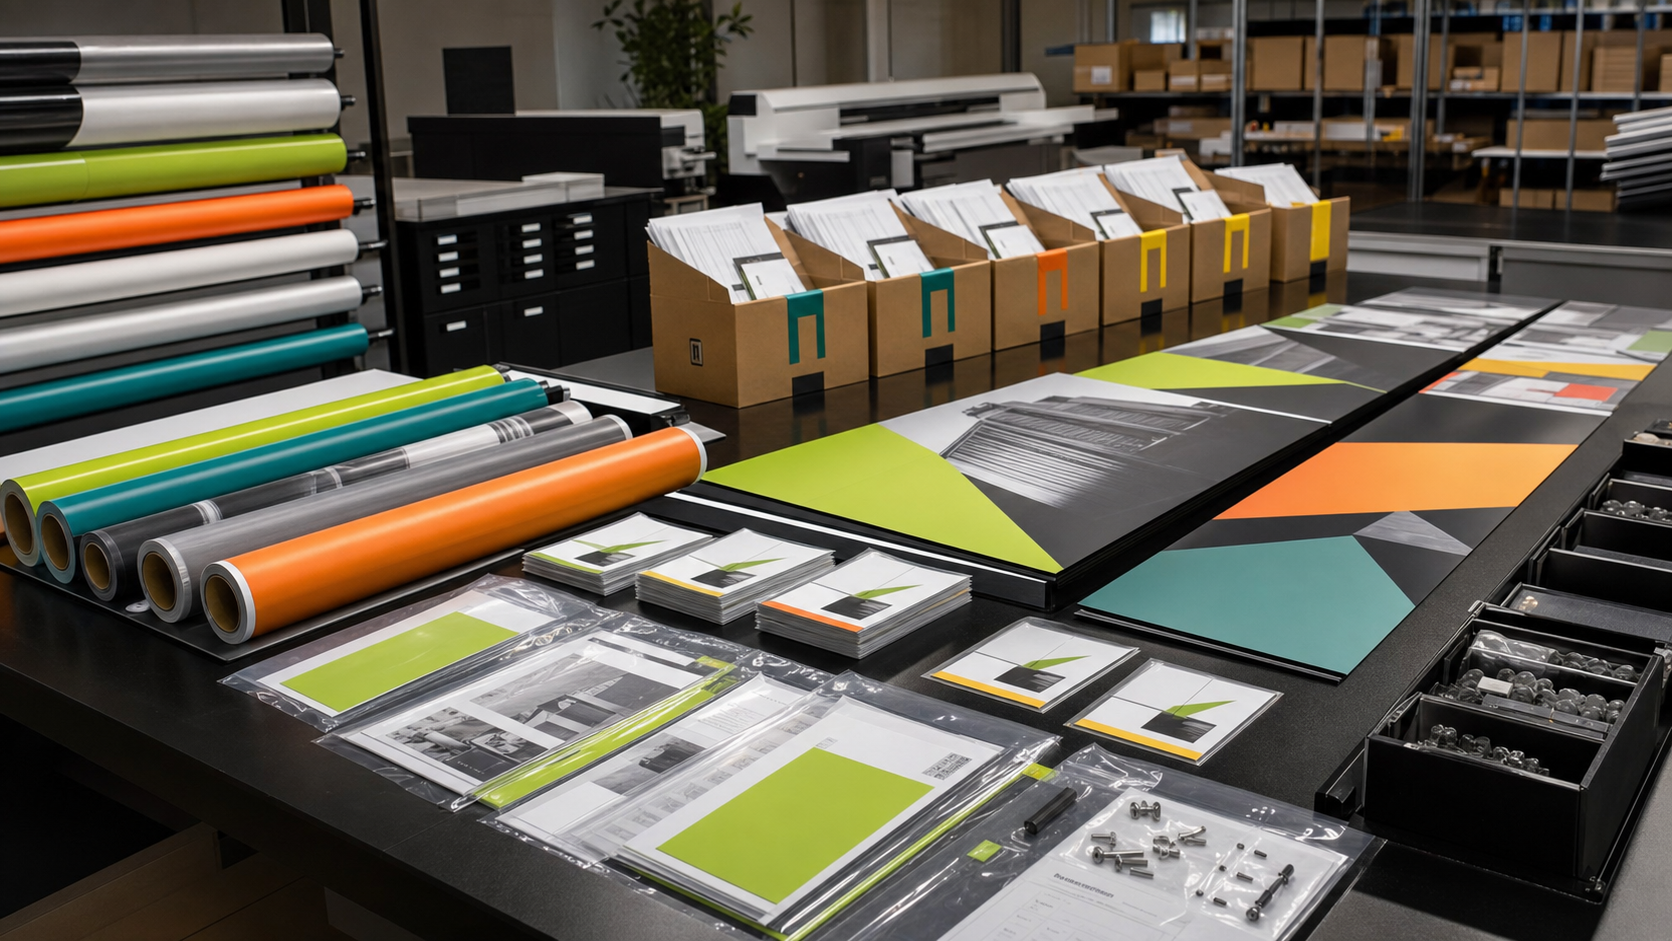
A multi-location retail graphics rollout works best when every store, artwork version, quantity, packing instruction, and installation requirement is connected through one controlled production system.
Build one source of truth before production.
A multi-location graphics program becomes difficult when store data, artwork, dimensions, and shipping instructions live in separate conversations. Create one rollout matrix that assigns every location a unique identifier and connects it to the exact graphics package it should receive.
Review the broader application mix on the Retail Graphics pillar. For specialty glass campaigns, also visit Custom Window Film.
Include these fields in the location matrix.
- Store number, store name, and full delivery or installation address.
- On-site contact, receiving hours, access restrictions, and required credentials.
- Confirmed dimensions for every window, wall, floor, fixture, or display.
- Artwork version, language, regional offer, and campaign dates.
- Quantity by item, replacement allowance, and pack-out instructions.
- Installation date, crew notes, removal requirements, and completion reporting.
Control artwork versions visibly.
Use file names that identify campaign, location or store group, size, version, and revision date. Avoid labels such as “final-final.” A simple version convention reduces the chance that an approved regional offer is paired with the wrong location.
Separate universal graphics from variable graphics.
Universal pieces can often be produced and packed efficiently across the full campaign. Variable items should be tied to a clearly defined store group, language, promotion, or opening date. This distinction makes proofing, production counts, and replacement requests easier to manage.
Plan the kit from the installer’s point of view.
Label each component with the store, elevation, panel, and install sequence. Include a pack list and concise placement notes. When possible, use photographs or annotated elevations so the receiving or installation team can identify each item without interpreting the artwork file.
Confirm closeout expectations.
Decide in advance whether each location needs completion photos, exception notes, returned material, damage reporting, or a signed closeout. Those requirements should appear in the rollout plan before the first kit leaves production.
Use the right pages for the next decision.
Browse commercial work for project context, review available graphics products, and use the FAQ for common production and installation questions. The UNIQLO Heattech case study provides an example of a specialty retail film program across flagship environments.